
Last updated November 21, 2026
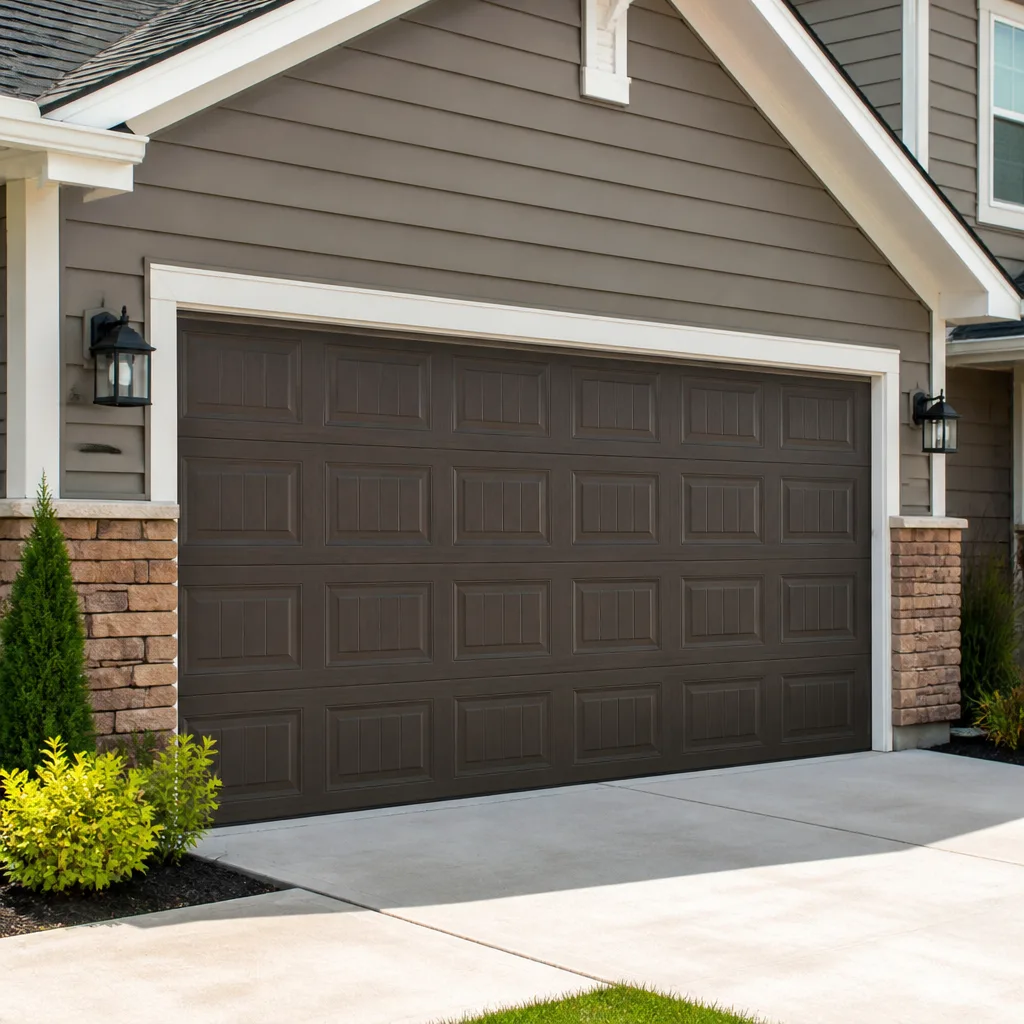 Raised-panel steel
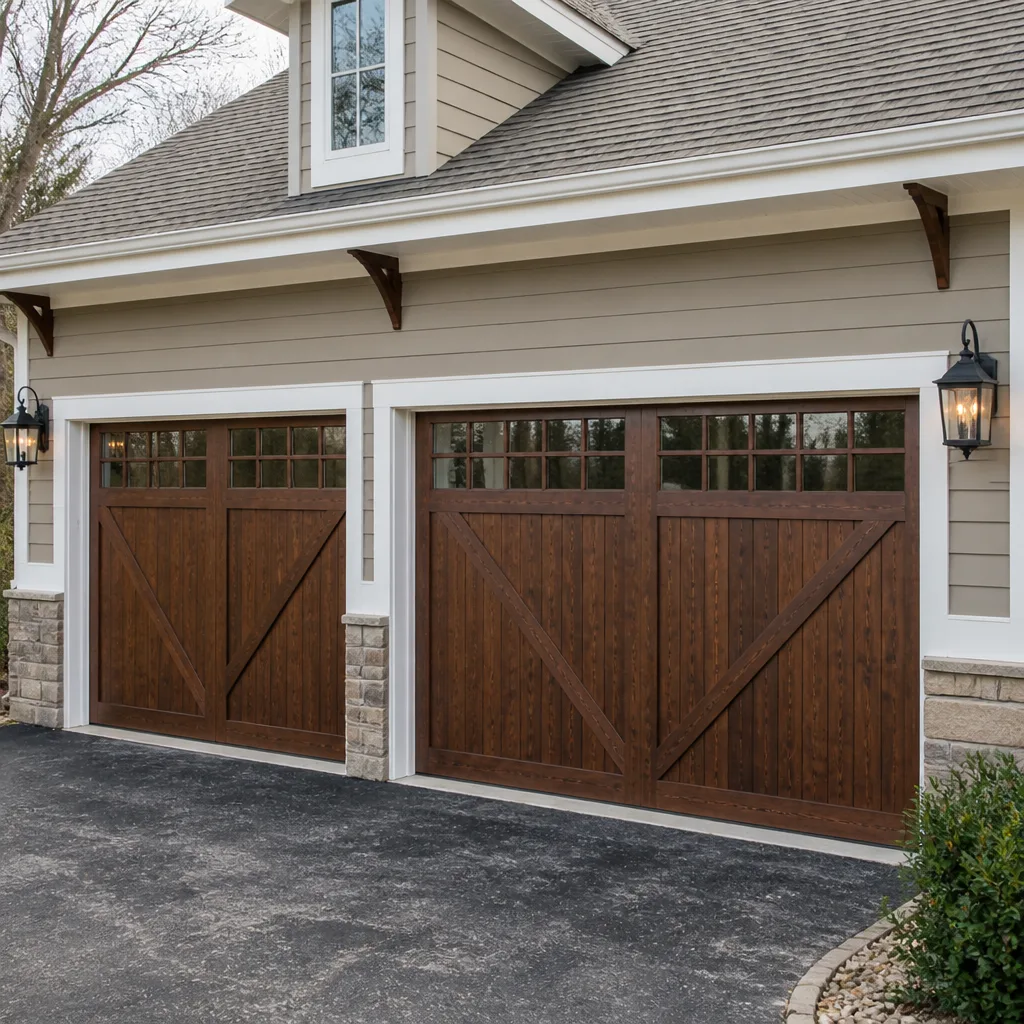 Carriage house
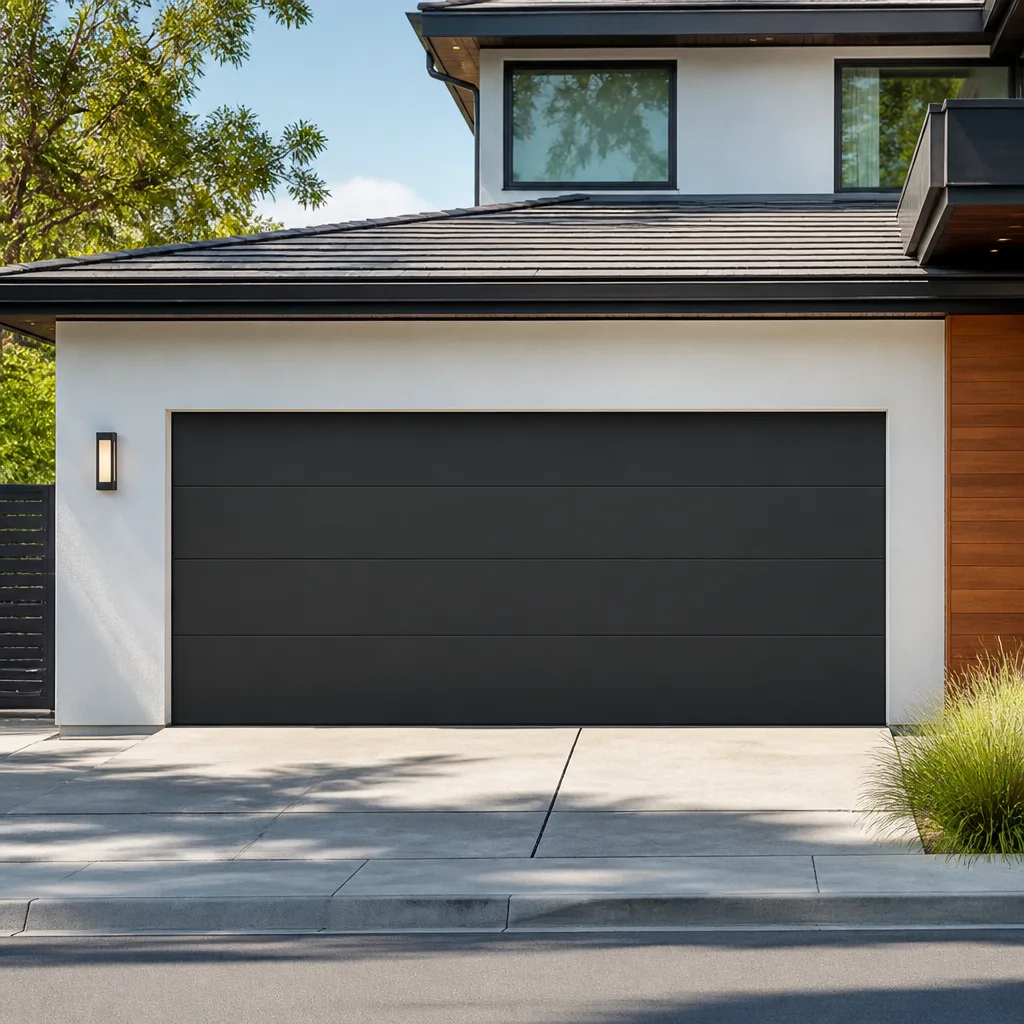 Modern flush
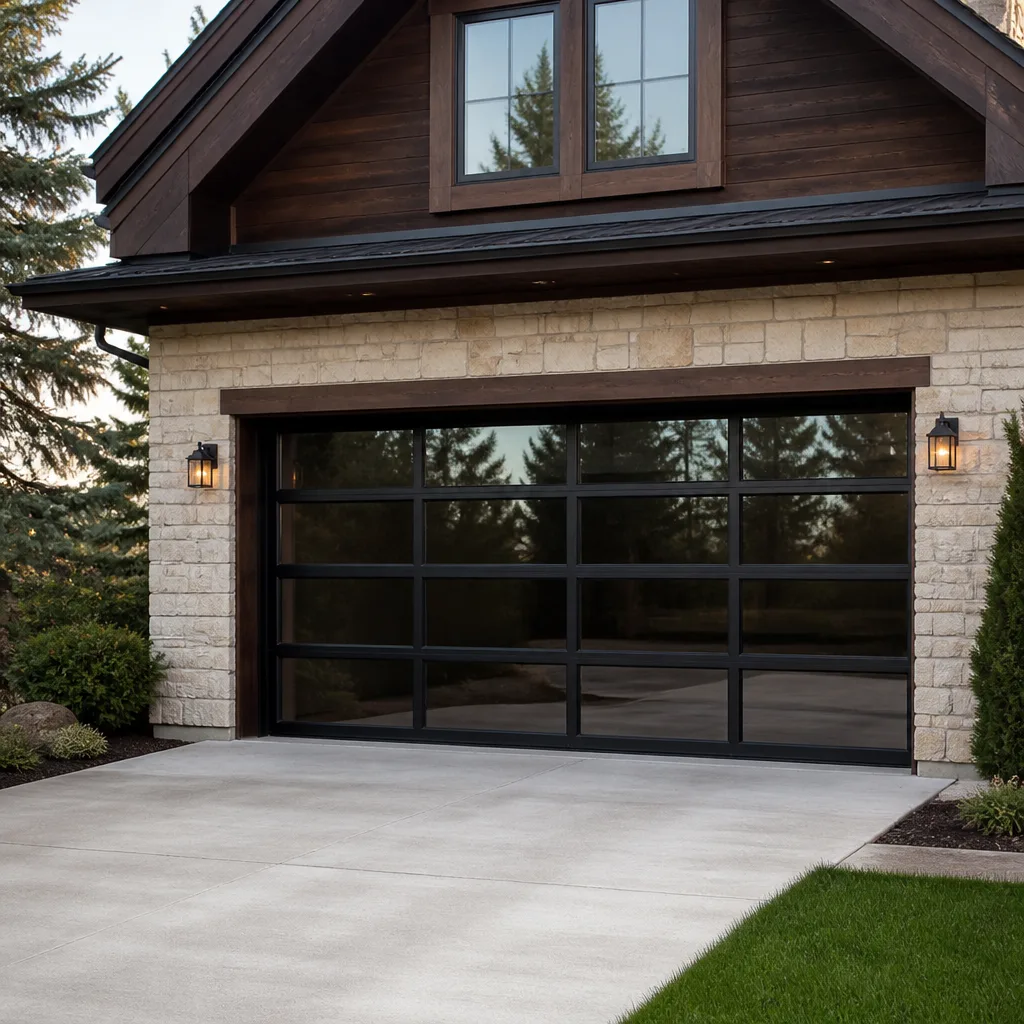 Full-view glass
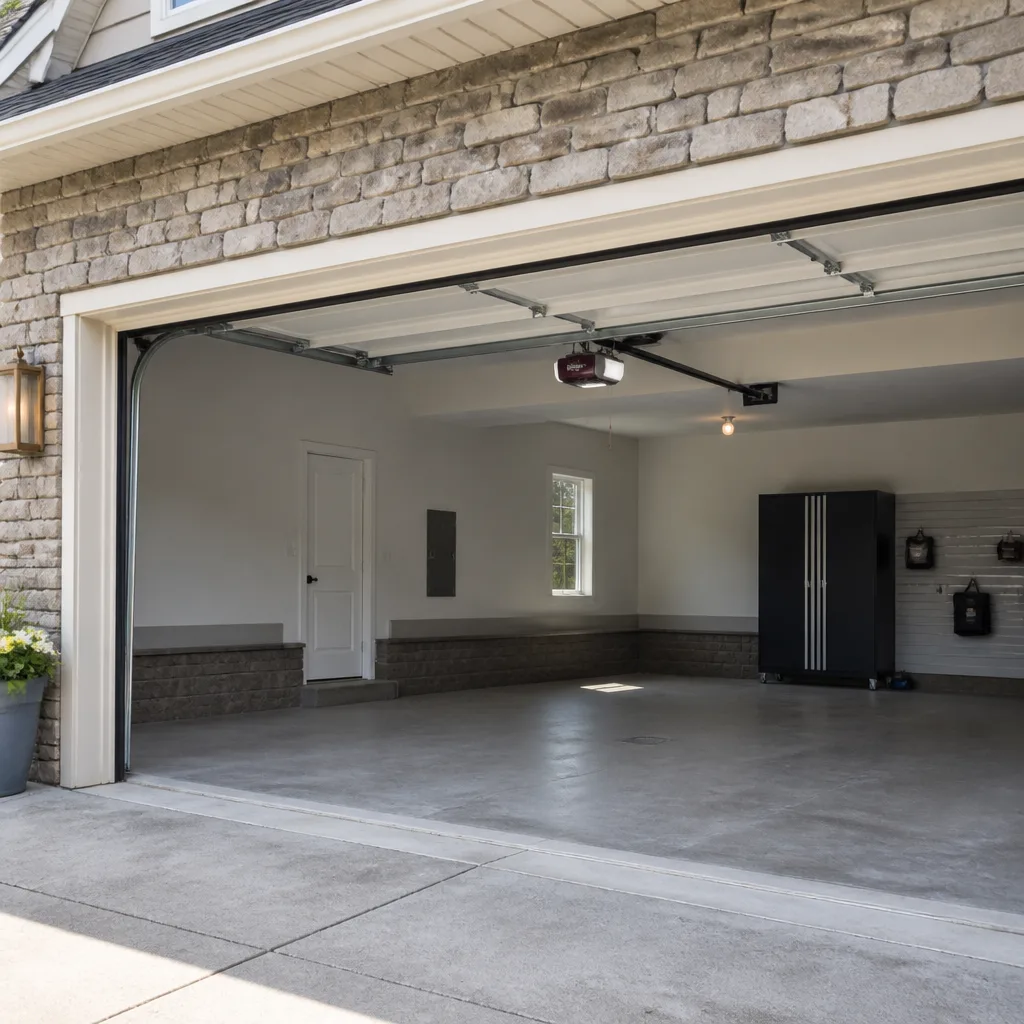 LiftMaster openers
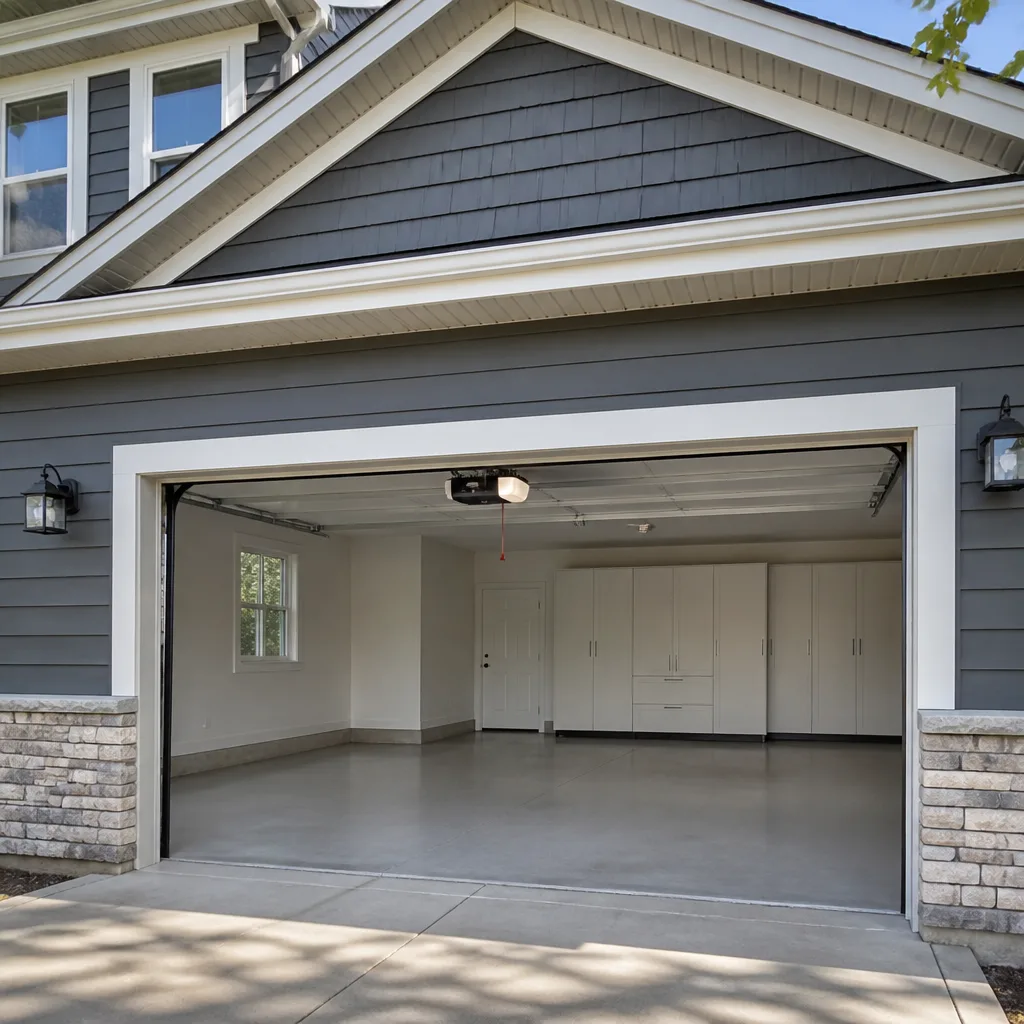 Chamberlain openers
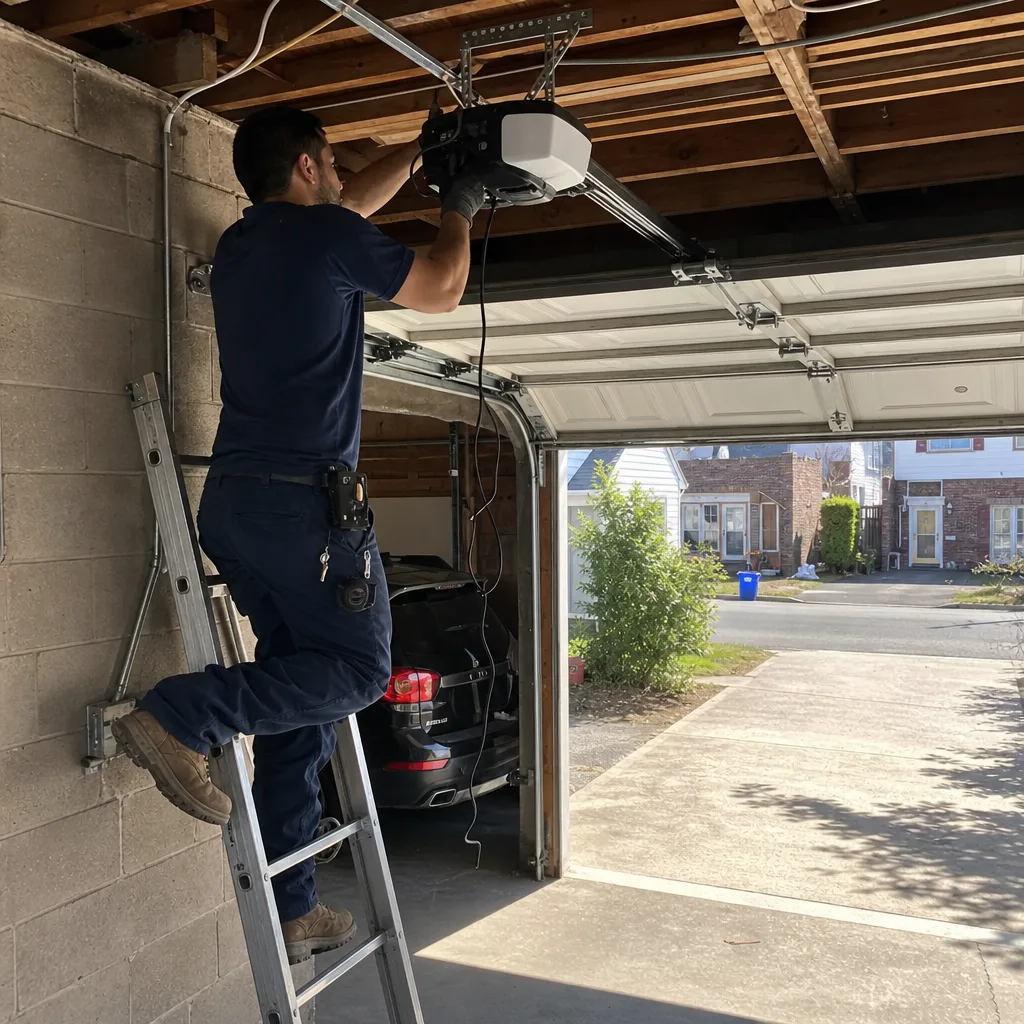
Full 25-point door and opener safety check with every visit - springs, cables, rollers, tracks, and your LiftMaster or Chamberlain opener included
You get a price before we start. It does not change when the pro arrives.
Get your free estimateDIY vs Professional Garage Door: The Williamsbridge Homeowner’s Decision Guide
Most homeowners asking “can I fix this myself?” are asking the wrong question. The real question is which specific tasks on a garage door carry a physical danger so severe that a single mistake is permanent – not expensive, not annoying, permanent. Torsion springs, cables under tension, and the brackets that hold them are in that category; replacing a photo-eye bracket or lubricating rollers is not. This guide draws that line task by task, in plain language, for Williamsbridge homeowners who want to know exactly where to stop before they start. You’ll get a classification table, the tools that signal whether a job is even realistic, how NYC liability works when self-performed work goes wrong, and the three DIY jobs that most often turn a small repair into a bigger bill than a professional would have charged in the first place. We’re Garage Door Repair Williamsbridge, and after years of seeing what a half-finished spring job looks like, we’d rather help you decide honestly than talk you into work you don’t need.
Quick Answer
Cosmetic and low-tension tasks – lubricating hinges, tightening brackets, replacing a photo-eye, swapping a remote battery – are safe to handle yourself. Anything involving torsion springs, extension springs under load, lift cables, or the drums and brackets that hold them should be done by a trained technician, because stored energy in those components can release faster than a human can react. Opener motor and logic board replacement sits in the middle: possible for a confident DIYer with the right brand-specific manual, but a professional diagnosis is usually faster and often cheaper once misdiagnosis is factored in.
Styles & brands we work with
- Raised-panel steel
- Carriage house
- Modern flush
- Full-view glass
- LiftMaster openers
- Chamberlain openers
Table of Contents
- Why the DIY Line Isn’t About Skill Level
- Task-by-Task: What’s Safe, What Needs Care, What Stays Professional
- The Tools That Tell You a Job Isn’t Realistic
- How NYC Liability and Insurance Interact With DIY Garage Door Work
- Three DIY Jobs That Look Simple but Cost More to Fix
- How to Diagnose Your Garage Door Problem Yourself
- Brand Matters: Why Opener Work Is Different
- Common Mistakes to Avoid
- When to Call a Professional
- Frequently Asked Questions
Why the DIY Line Isn’t About Skill Level
A torsion spring on a standard residential door stores enough energy to break a wrist or worse. It doesn’t do that because homeowners are careless. It does that because when a spring fails or releases unexpectedly, the physics of the stored load doesn’t give you time to react. By the time your nervous system has registered the sound, the energy is already out. That’s the reason the line exists, and it’s why we draw it at the component, not at the person.
This matters for Williamsbridge homes specifically because many of the older doors in the neighborhood – the ones on the long blocks off White Plains Road and up toward East Gun Hill – were installed decades ago with spring systems that are now near or past their service life. Homeowners often don’t know the difference between a torsion spring (horizontal, wound around a shaft above the door) and an extension spring (stretched along the side tracks). Each one carries different risks and needs different handling.
The other misconception we hear is that “professional vs. DIY” is a value judgment. It isn’t. A homeowner who replaces a broken photo-eye in ten minutes with a screwdriver and a new unit from a hardware store has done a perfectly good job. A homeowner who opens the spring assembly without the proper winding bars, clamps, and a partner to help is putting themselves in a different category entirely. The line isn’t about who’s smarter. It’s about which tasks can go wrong in a way you can’t undo.
We’ve seen what happens when a spring job is attempted without the right technique, and we’d rather talk a Williamsbridge homeowner out of that attempt than profit from the result. That’s the honest position. If you read this guide and decide everything on your door is in the professional-only column, you’ve made the right call. If half of it is in the safe column, you’ve saved yourself some money. Both outcomes are fine.
Task-by-Task: What’s Safe, What Needs Care, What Stays Professional
Here’s the breakdown we’d give a neighbor over the fence. Each task is classified three ways – safe to do yourself, DIY with caveats, or professional only – with the reason beside it so you can judge for your own door and your own comfort level.
Safe to Do Yourself
These tasks involve no stored energy and no risk of a sudden release. If something goes wrong, you’ll know it immediately and it won’t hurt you.
- Lubricating hinges, rollers, and tracks – a basic maintenance task. Use a garage-door-specific lubricant, not household oil. Two minutes of work, twice a year, extends the life of the moving parts.
- Tightening loose bolts on hinges and roller brackets – use the correct socket or wrench. Over-tightening strips threads; snug is enough.
- Replacing a photo-eye safety sensor or its bracket – these are low-voltage, low-risk components. New unit from a hardware store, quick screwdriver job, then a quick alignment test with an object in the beam path.
- Replacing a remote battery or re-pairing a remote – follow the manual for your opener brand. A quick process on LiftMaster, Chamberlain, Genie, and Craftsman systems once you know the pairing sequence.
- Cleaning and checking weather stripping – peel off old, press on new. This is also a good time to look for gaps that let in cold air during a Williamsbridge winter.
DIY With Caveats
These are doable for a careful homeowner, but the margin for error is narrower. Read the manual for your exact model before you start.
- Replacing a wall-mounted opener button or wiring it – low voltage, but you need to know which terminals on the opener head correspond to the button and the safety reverse. Wrong wiring can leave the door operating but without the safety reverse functioning, which is a much bigger problem than a dead button.
- Adjusting the travel limits or force settings on an opener – doable if your opener has a clear adjustment sequence in the manual. The risk is setting force too high, which allows the door to close harder on an obstruction than it should.
- Replacing a bottom seal or weather strip on the door panel – the actual work is easy. The caveat is that on older wood doors, the seal may be integrated into a channel that’s easier to replace as a unit than to pick apart. Take a photo before you start.
- Replacing a single opener motor or logic board on a LiftMaster, Chamberlain, Genie, or Craftsman unit – the swap itself is mechanical. The diagnosis is where most attempts fail. If you’re confident in the diagnosis and can get the exact replacement board, this is attainable. If you’re not sure which component failed, call for a diagnosis instead.
Professional Only
These carry high stored energy or physical risk. Every one of them is a job where a technician with proper tools and training should be doing it, not because it’s hard to understand, but because the failure mode can be serious.
- Torsion spring replacement or adjustment – the spring above the door holds a loaded force. Winding requires specific bars, careful technique, and a partner. This is the most dangerous job on the door and the one most often mishandled by DIY attempts.
- Extension spring replacement – different mechanism, same category of risk. These springs are under tension along the side tracks and require clamping before removal.
- Lift cable replacement or readjustment – a slack or snapped cable can whip. Cables are under load and connected to the spring system; replacing them means working with the spring tension relieved first, which is itself a technical job.
- Cable drum, spring anchor plate, or center bearing plate replacement – all of these are part of the spring system. Removing them requires the spring tension to be safely relieved, which puts them in the same category.
- Track realignment after impact damage – if the door has been hit and a track is bent, straightening it back into alignment needs to account for the spring load the door is under. Attempting this without the panel secured can cause the door to drop.
If your door has a snapped spring or a cable hanging loose, the right move is to stop and call. We answer 24/7 and can send a technician with fast dispatch from 7am to 7pm Sunday through Friday. If you’re not sure what’s wrong, the next section covers how to figure that out yourself before you call.
The Tools That Tell You a Job Isn’t Realistic
If you’re halfway through a repair and realize you don’t have the right tools, that’s not a delay – it’s a warning. Garage door work has its own tooling, and the tools signal how serious each job is. Here’s what to look at.
Torsion spring work requires:
- Two solid winding bars of the correct diameter – not screwdrivers, not hex keys, not pry bars. The bars must fit the winding cone exactly, and you need two so the spring is always held under control.
- Locking pliers or Vise-Grips large enough to clamp the shaft – this is the backup that stops the shaft from spinning if a winding bar slips.
- A proper ladder rated for your weight, on a level surface – most residential door springs sit at 7 to 8 feet. Falling from a ladder is its own category of injury.
- A partner – not because the job is social, but because one person winds and one person handles the door. A single person on this job has no recovery time if something goes wrong.
Cable and drum work requires:
- Cable puller or cable grips – you need a way to grip a tensioned cable without pinching it into a kink.
- The correct replacement cable gauge and length – cables are sized by door weight and height, not by the length of what came off. A slightly wrong gauge is a repeat failure.
- A spring-relieving clamp and the knowledge to use it correctly – the entire cable replacement sequence depends on the spring tension being safely removed first. That step is the one that puts cable work in the professional category.
If you don’t own the tools above, the repair isn’t realistic to do yourself. That’s not a knock – most homeowners don’t. Winding bars and spring clamps are trade tools, and the sensible thing to do is not buy them for one job.
By contrast, photo-eye replacement needs a screwdriver and a new sensor. Hinge tightening needs a socket set. Those are household tools and household jobs. The tooling is one of the best signals of which side of the line a repair sits on. If the tool list reads like a trade supply order, it’s a professional job.
How NYC Liability and Insurance Interact With DIY Garage Door Work
Here’s a section most DIY guides skip. In New York City, self-performed work on your own home carries different liability than work performed by a vetted contractor, and the garage door is no exception.
If you DIY a repair and the door later fails and damages property, injures a household member, or (worst case) comes down on someone in the driveway, the outcome depends on your homeowner’s policy language and how the injury occurred. Some policies cover negligent self-performed work; others exclude it or reduce coverage if the failure traces to a repair the policyholder did. The exact answer lives in your specific policy, not in a general guide. Read your policy or call your agent before you take on anything above the safe column – even a middle-of-the-road task.
If you hire a professional to do the work, the liability question shifts. The technician who performed the work carries liability for it, typically through the licensing and insurance the state requires of their trade. This is one of the concrete reasons to hire out: not just because the work is done better, but because the risk is transferred to the person who did it. That transfer is worth something in a city where property damage claims can get complicated.
There’s also the question of what happens after a DIY repair that doesn’t cause injury but does cause visible damage – a bent track, a stripped bracket, a door that’s out of balance. When a subsequent technician comes out to fix it, the fix starts from whatever state the DIY attempt left things in. We’ve seen jobs where the original repair would have been straightforward but the follow-up requires replacing parts that were accidentally damaged during the attempt.
For a Williamsbridge homeowner with a typical homeowner’s policy, the practical bottom line is this: safe DIY tasks are fine to do without a second thought. For anything involving springs, cables, or the structural parts of the door, the liability math favors hiring – because the alternative is you carrying both the physical risk and the insurance risk at the same time.
Three DIY Jobs That Look Simple but Cost More to Fix
In our experience, three specific repairs come up over and over as jobs homeowners thought would be easy. Each one starts as a small problem and ends with a bill that would have been smaller if a professional had been called first. Here they are, and here’s why each one goes wrong.
1. Replacing a torsion spring “just to get the door up”
The homeowner’s version of this goes like this: the door won’t lift, the spring is obviously broken, watch a video, order a spring, try to wind it yourself. What usually goes wrong is the winding. Without the correct bars, without a partner, without the instinct for how much tension is enough, the spring can slip or release mid-wind. Sometimes the spring breaks again immediately. Sometimes the door comes down hard. Either way, the follow-up job is bigger than it would have been. A trained spring replacement is a routine job; a spring replacement after a failed DIY attempt often involves a bent shaft, a damaged bracket, or a re-wound spring that needs re-doing.
2. Straightening a bent track by force
When a door has been bumped and a track is bent, the temptation is to hammer or bend it back into place. What makes this a trap is the spring load. The door is under tension, and the track is one of the parts holding everything in alignment. Pulling a bent track back into shape without the door secured can release the door or shift the panel weight in a way that becomes a much bigger repair. A technician secures the panel first, then aligns the track. Skipping the securing step is where a small track adjustment becomes a panel replacement.
3. Replacing a wall-mounted opener “because the old one is dead”
Wall-mounted openers (the type that sit beside the door rather than on the ceiling) often fail for a control-board reason, not a motor reason. A homeowner who replaces the whole unit can spend significantly more than a control board swap would have cost, and end up with the same problem if the diagnosis was wrong. LiftMaster and Chamberlain wall units in particular have serviceable boards; the trick is knowing which board to replace. That’s a diagnosis question, not a parts question.
All three of these share a pattern: the visible symptom points to a repair that seems mechanical and finishable, and the actual work requires technique that only comes from doing it repeatedly. If a Williamsbridge homeowner reads this and thinks “that’s my door,” the diagnosis is the next step, not the repair.
How to Diagnose Your Garage Door Problem Yourself
Before deciding DIY vs. professional, you need to know what’s actually wrong. Diagnosis is safe, uses no tools beyond your eyes and hands, and changes the entire decision. Here’s how to work through it.
- Stand outside the closed door and look at both sides. Are the panels even, or is one side visibly lower? An uneven door usually means a spring or cable problem, not a track problem. Note where the gap is.
- Open the door by hand (with the opener disconnected). Pull the emergency release handle, lift the door by hand. If it’s very heavy, the spring is under-tensioned or broken. If it flies up too easily, the spring is over-tensioned. A well-balanced door should lift with about the same effort as lifting a bicycle off the ground.
- Test the safety reverse. With the door open, place a 2×4 flat on the ground in the door’s path, then close the door using the wall switch. The door should reverse on contact with the board. If it doesn’t, the safety reverse system has a problem.
- Watch the door close, looking at the tracks. Does the door wobble or scrape? Do the rollers bind at any point? Roller binding usually means a worn roller or a track that’s gone slightly out of alignment.
- Run the door and time it. A door that suddenly takes much longer to open or close, or that stops partway through, has an opener force-setting or logic-board issue.
- Look at the spring itself. For a torsion spring, a visible gap in the coil means it’s snapped. For extension springs, look at the coil along the side tracks; a broken extension spring is usually obvious. Either way – if a spring is broken, stop, close the door carefully, and treat it as a professional job.
- Check all the diagnostics on your opener head. LiftMaster, Chamberlain, Genie, and Craftsman openers each have error codes or LED patterns on the logic board. Check the manual before deciding the opener is dead.
Once you’ve done these seven checks, you’ll know the category of problem you have: safe to DIY, caveat-worthy, or professional. That’s the point – diagnosis is the step every homeowner can safely take, and it’s the step that tells you what to do next. If you’ve gone through all seven and aren’t sure, that’s a fine time to call. Diagnosis over the phone or by a quick visit is free, and there’s no reason to guess when a technician can confirm it.
Brand Matters: Why Opener Work Is Different
Garage door openers aren’t interchangeable any more than cars are. The logic boards, force settings, safety reverse behaviors, and remote-pairing sequences differ between LiftMaster, Chamberlain, Genie, Craftsman, Clopay, Amarr, Wayne Dalton, and Raynor. A diagnosis that would be correct on one brand can be wrong on another, and a replacement part that fits one brand’s opener won’t fit its neighbor’s.
This matters for the DIY decision because it changes what “wrong” means on an opener. A homeowner with a Chamberlain opener who reads a generic repair guide and applies it to their door is applying half-right information. A homeowner with a Genie opener who applies the same guide is in a different situation. Same guide, different outlet. The DIY attempt succeeds or fails depending on which brand-specific manual is in their hand.
For a homeowner facing an opener problem, here’s the practical takeaway: identify your brand first (the model plate is on the back of the opener head, or inside the light cover on most units), then get the brand-specific manual before deciding whether to try the repair. A quick call to our team helps here if the model plate is not visible. We work on the brand already on your home, and getting the diagnosis right on LiftMaster, Chamberlain, Genie, and Craftsman systems is a routine part of what we do. Brand-familiar diagnostics are faster than a generalist guessing at parts.
For garage door opener repair, the brand question often decides whether the repair is quick or turns into a second repair. If you’re not sure of your brand, or your model plate is faded or missing, that’s a fine reason to call and let a technician identify it.
Common Mistakes to Avoid
- Using screwdrivers or hex keys instead of proper winding bars. A screwdriver doesn’t fit the winding cone the way a proper bar does. When it slips, the tension releases suddenly and the person holding it loses control. This is the single most common shortcut that turns a manageable spring problem into a hospital visit.
- Assuming a broken spring can be “just held in place” until later. A snapped torsion spring means the door is being held up by the opener alone. Every cycle puts the opener motor and gear under load it wasn’t built for. Waiting to call doesn’t save money – it often means an opener repair on top of a spring replacement.
- Setting the opener force too high to “make the door close.” Force settings on every modern opener have a specific sequence and a specific maximum for a reason. Pushing force higher than spec defeats the safety reverse system and lets the door close on an obstruction with more force than it should. It also masks the real problem, which is usually a spring, a cable, or a track issue.
- Replacing a track with a longer or shorter one than the door was designed for. Garage door tracks are matched to door height and panel weight. Replacing a track with a hardware-store substitute that’s close but not exact usually means the door binds at one end of its travel. In Williamsbridge homes with older doors, this is a common failure on doors where the original track parts are now hard to match.
- Ignoring the fourteen-inch gap on older installations. If your Wall of Shame gap is on an older door, the fix isn’t to force the door lower – it’s to check whether the bracket mount needs adjustment. Forcing the door to close against a hard stop stresses the springs and the opener every cycle.
- DIY’ing a spring job while the opener is still connected. The opener holds the door in a “ready” state that makes the door feel lighter than it is. When the spring load changes during a repair, the opener can itself become a hazard. Disconnect the opener and secure the door before any spring-related work begins – and if that step doesn’t make sense to you, that’s the sign to call.
- Not checking the door balance before deciding on any repair. The balance test (lift the door by hand with the opener disconnected) tells you in thirty seconds whether the springs are doing their job. Skipping it means diagnosing the wrong component. Many “opener problems” are actually spring problems in disguise, and vice versa.
When to Call a Professional
You should call a professional if any of the following is true: a spring is broken or visibly snapped; a cable is hanging loose or visibly damaged; the door won’t lift by hand or lifts with extreme ease; the door has been bumped hard enough to bend a track or panel; the opener is failing repeatedly for different reasons; or you attempted a DIY repair and now the door is in a worse state than before. You should also call if you’re not confident in the diagnosis – a phone conversation or a free on-site estimate is faster than continuing to guess.
For repair work that can’t wait, we answer 24/7. A stuck door at night or a broken spring blocking a car inside is treated as urgent, not scheduled out. Fast dispatch from 7am to 7pm, Sunday through Friday. Garage Door Repair Williamsbridge offers free estimates in Williamsbridge. For a full service range including garage door repair and garage door installation, call (844) 443-3810. The price is quoted and agreed before any work starts; the written estimate sets the final number.
Frequently Asked Questions
No. Torsion and extension springs store enough energy that a single slip during replacement can cause serious injury, and proper technique requires winding bars, clamps, and a partner that most homeowners don’t have on hand. The spring replacement is a trained-technician job, and the good news is that it’s one of the fastest parts of garage door work to get done. Call (844) 443-3810 for a free estimate – our technicians have up to 10 years of experience with spring repair.
The savings depend entirely on the task. On safe tasks – replacing a photo-eye, tightening hinges, swapping a remote battery – DIY saves the whole cost of a service call, which is real money. On mid-range tasks like an opener board replacement, DIY saves money only if the diagnosis is correct; a wrong diagnosis means buying a part you didn’t need and still calling a technician. On spring or cable work, DIY saves money only when it doesn’t go wrong, and when it does go wrong, the follow-up repair almost always costs more than the original fix would have. Call (844) 443-3810 for a free estimate before you decide.
No. The written estimate we provide sets the price, and it’s quoted and agreed before any work starts. What we see on-site is built into the estimate – if a door has more than one problem, the estimate covers all the parts we’ve identified, and we tell you what we found before touching anything. If we discover something during the work that couldn’t be seen from the initial inspection, we stop and confirm with you before proceeding. Call (844) 443-3810 for a free estimate.
Yes. The local professional we connect you with is licensed and insured as their state requires, and this matters for exactly the reason this guide covers – the liability of self-performed work. When a trained technician does the repair, the liability sits with the person who did the work, not with you. Our technicians have up to 10 years of experience and work on the brand already on your home. Call (844) 443-3810 to schedule a free estimate.
Yes, for repair and urgent work. We answer 24/7, and fast dispatch runs from 7am to 7pm Sunday through Friday. Same-day service is available for repair calls; installation and replacement work is measured, ordered, and scheduled, so the timeline is a few days rather than hours. If your door is stuck or open and you’re in Williamsbridge, call (844) 443-3810 – a broken spring blocking a car is treated as urgent, not scheduled out.
Setting the opener force too high to “make the door close” when the real problem is a spring that’s lost tension or a track that’s slightly out of alignment. The door closes, so homeowners think the repair is done – but the safety reverse system has effectively been disabled, which is a much bigger problem than the original symptom. The right fix is to diagnose the underlying spring or track issue first. For a proper diagnosis and free estimate, call (844) 443-3810. We work on every major system in Williamsbridge.
The Bottom Line
The DIY vs. professional decision on a Williamsbridge garage door comes down to one question: does this task involve stored energy that can release faster than you can react? If the answer is no – photo-eyes, hinges, remotes, weather stripping, tightening brackets – go ahead and handle it. If the answer is yes – springs, cables, drums, winding – hand it to a technician, not because you’re not clever enough, but because the failure mode is physical and permanent. In between sits opener work: possible for the confident DIYer, safer for most homeowners to diagnose first and decide second. Every Williamsbridge homeowner we work with gets the same advice: know where the line is before you start, not after. That’s the whole point of this guide.
If you’ve decided your job is on the professional side, one call covers it – repair, replace, or install. For everything from Garage Door Repair Williamsbridge to emergency work, call (844) 443-3810 for a free estimate. We answer 24/7, dispatch from 7am to 7pm Sunday through Friday, and we work on the brand already on your home – LiftMaster, Chamberlain, Genie, Craftsman, Clopay, Amarr, Wayne Dalton, and Raynor. Springs are the most dangerous part of any garage door system, and we handle them so you don’t have to.
For same-day repair on a stuck door, a broken spring, or an opener that won’t respond, call (844) 443-3810. We answer 24/7. Fast dispatch from 7am to 7pm, Sunday through Friday. Call to book your free estimate.
Written by the team at Garage Door Repair Williamsbridge.
See the difference
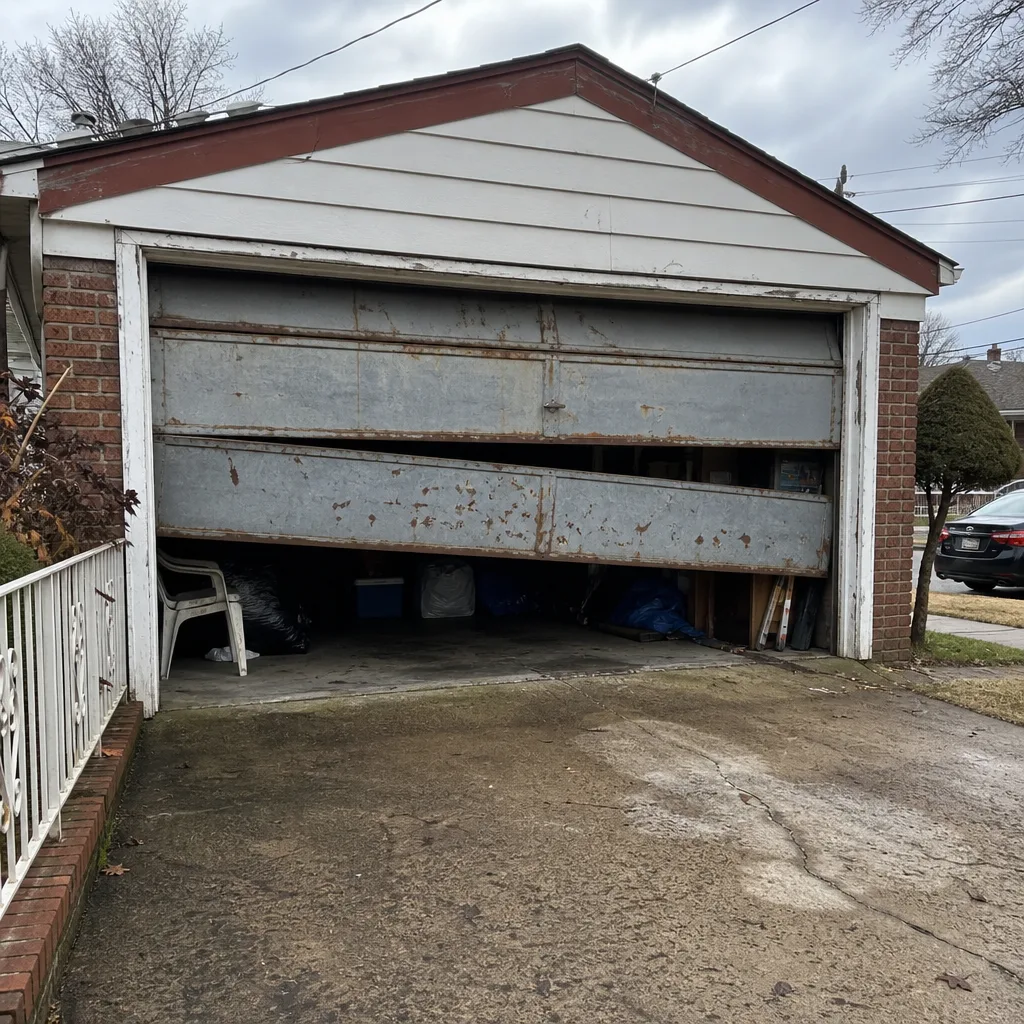 Before
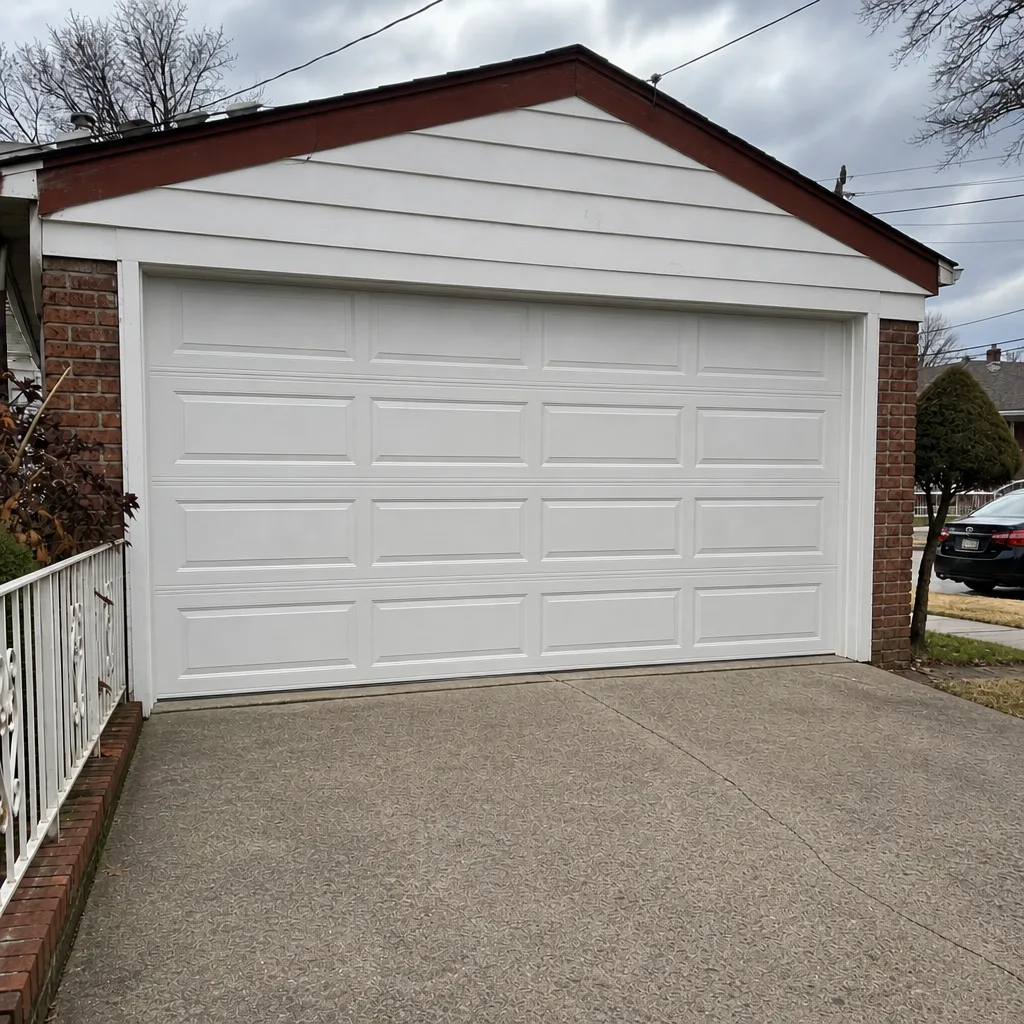 After
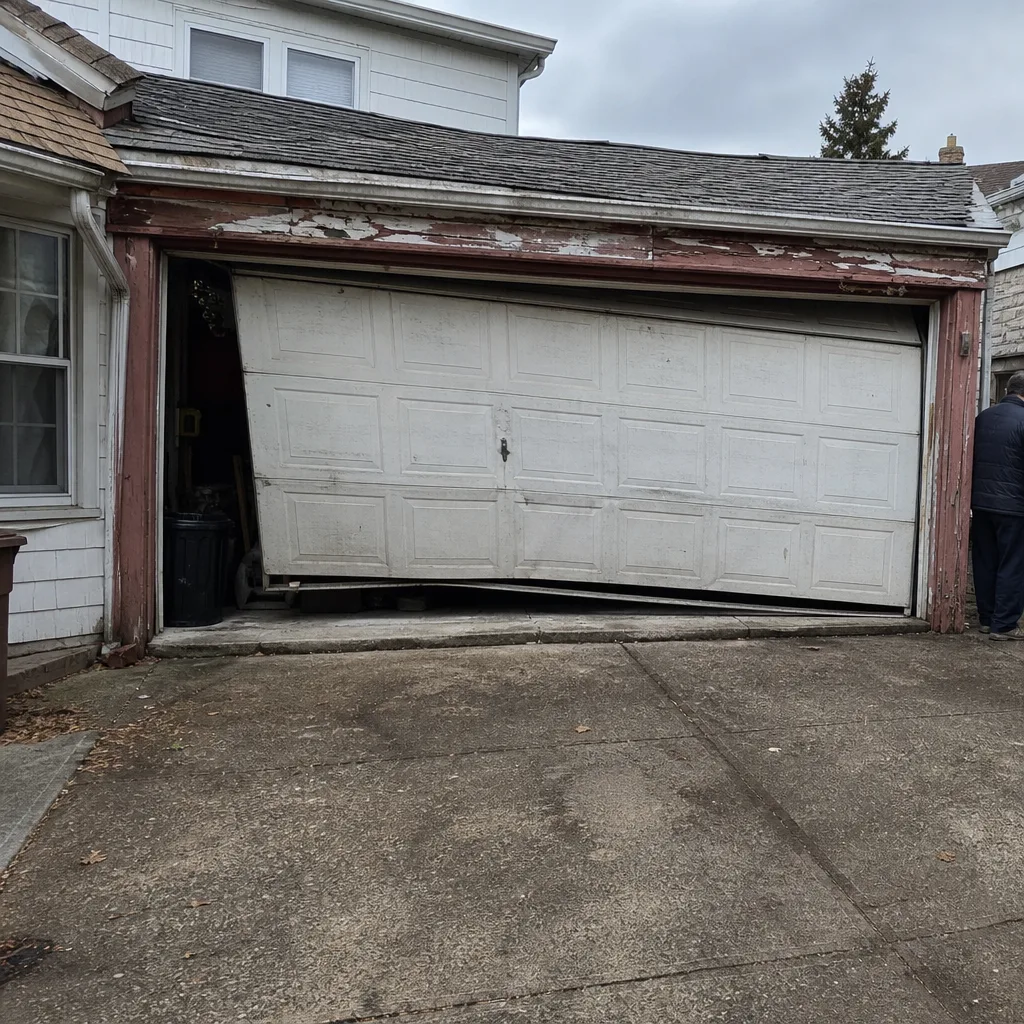 Before
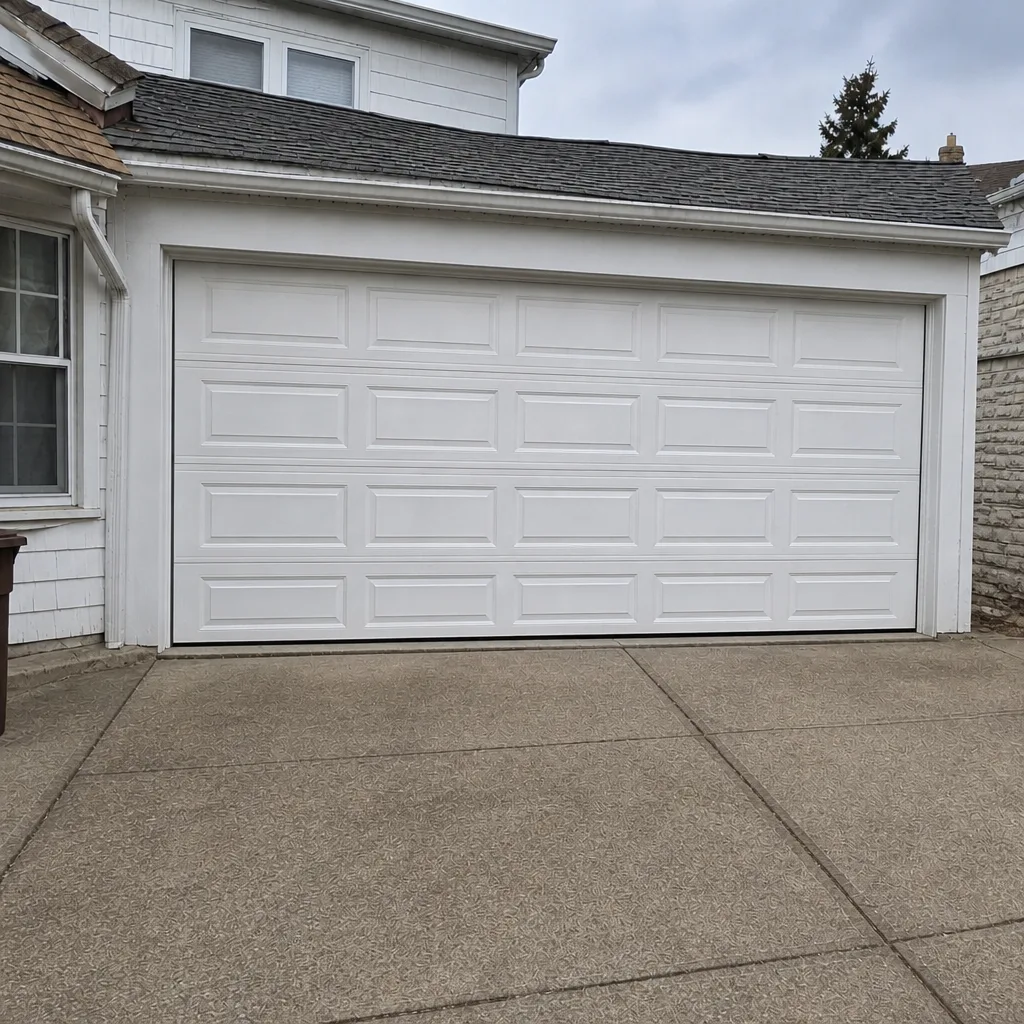 After
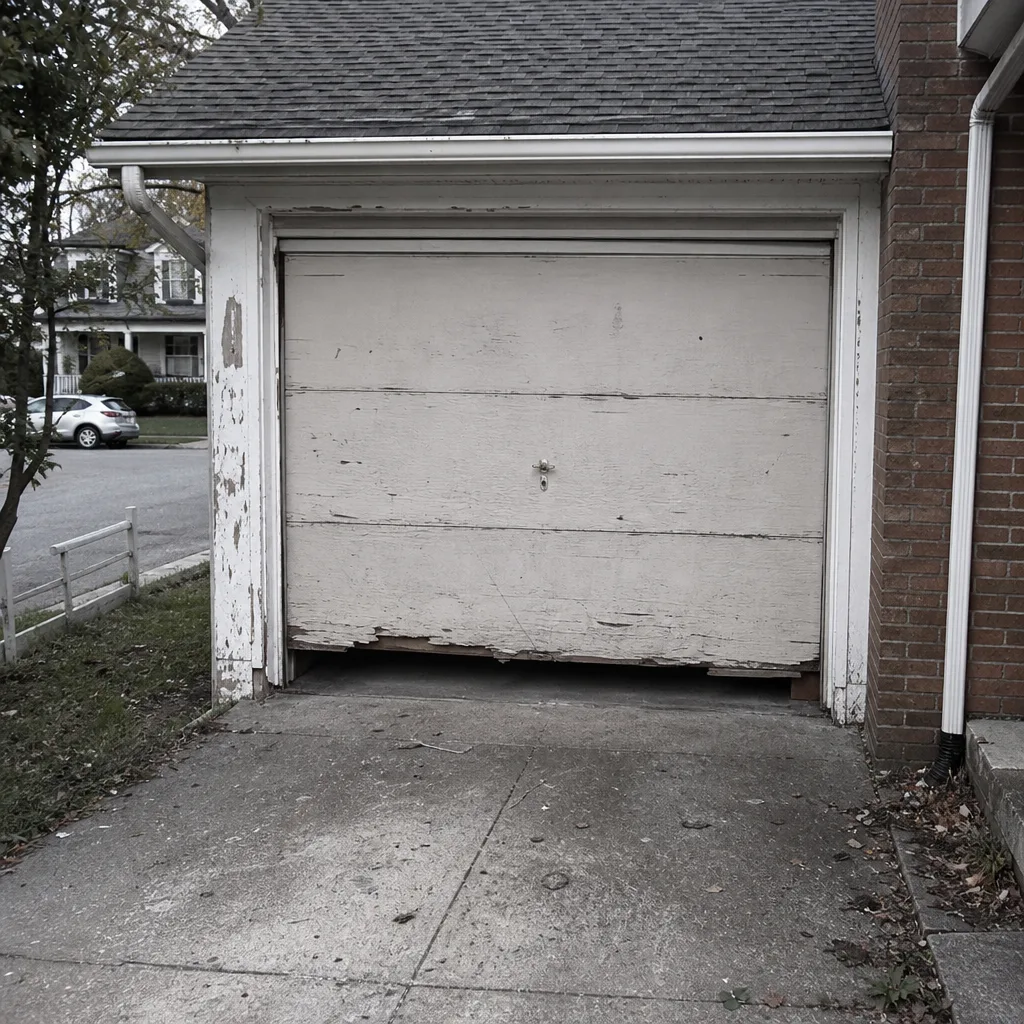 Before
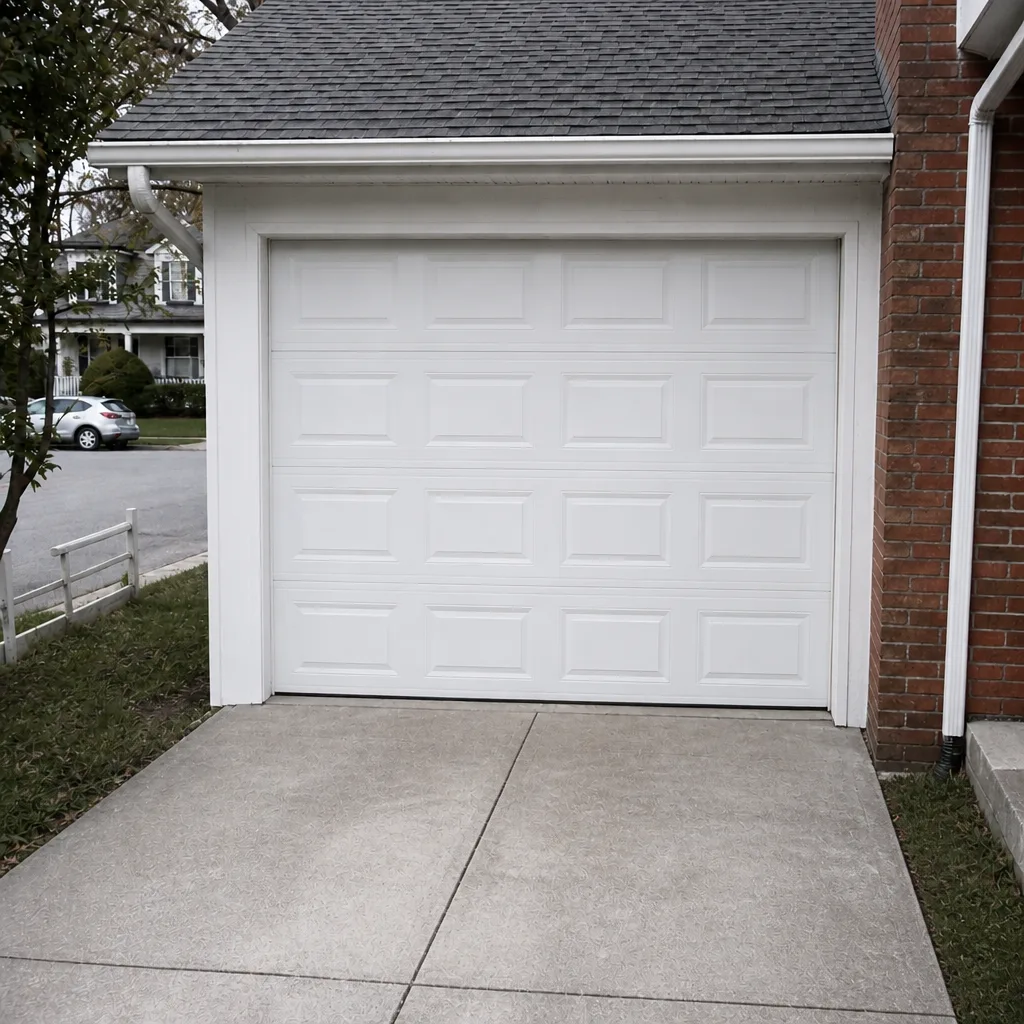 After